
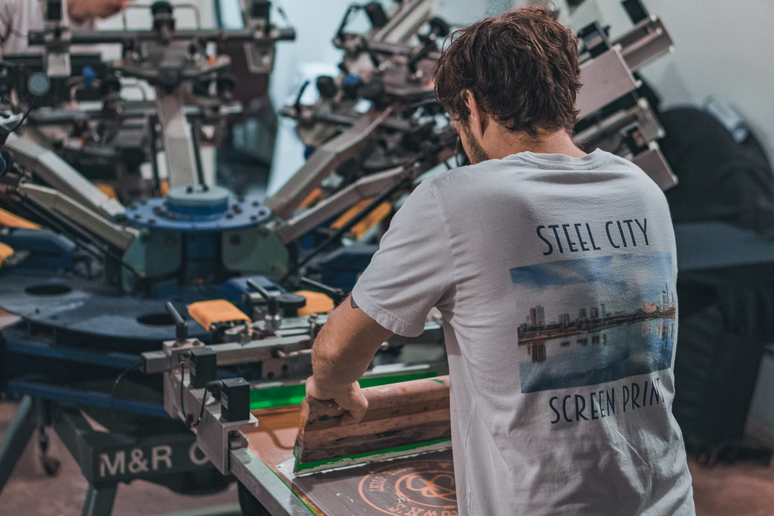
In digital printing, there are various advanced techniques that have revolutionized the industry, making it possible to print high-quality, full-color designs on various surfaces. One such technique is Direct-to-Film (DTF) printing. This process basically involves printing a design onto a special film, which then gets transferred onto a garment or other surface using a heat press.
If you’re going to launch a t-shirt business or are looking to expand your printing capabilities, understanding the key process of DTF printing is, without a doubt, a must. So, keep reading. In this article, we’ll take a closer look at the steps involved in DTF printing and why it’s considered a game-changing technique in the world of advanced printing.
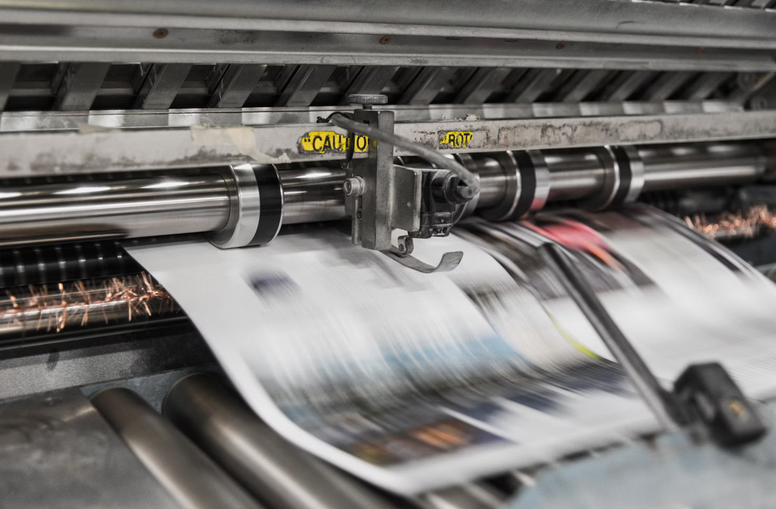
Film Printing
The film here acts as a carrier for the ink and adhesive layers that will later be transferred onto the substrate. To achieve optimum results, make sure to use top-notch printers and quality films that can accurately reproduce intricate details and vibrant colors. Order DTF Printing Online here to get quality results as mentioned. The resolution and color accuracy of the print are essential in ensuring an outstanding final product. Once your design is printed onto the film, it’s time to move on to the next stage: adhesive layer application.
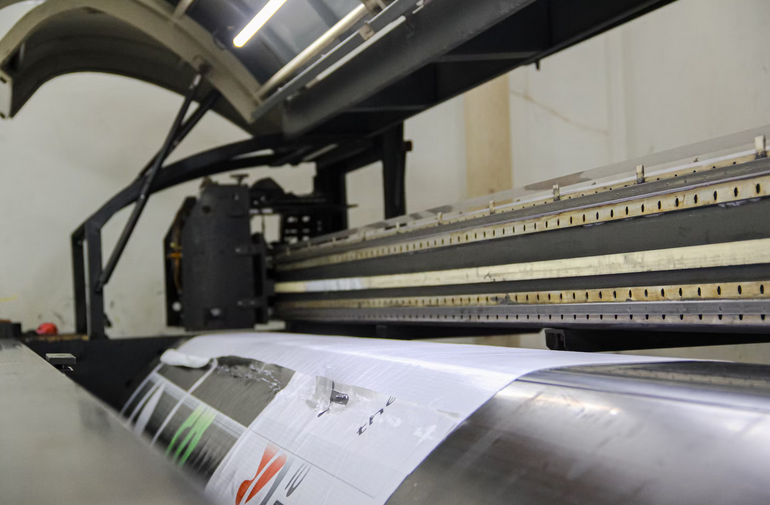
Adhesive Layer Application
This is where things really start to come together. The adhesive layer plays a vital role in ensuring a successful transfer of the design from film to substrate. It basically acts as a bonding agent, resulting in a strong connection between the ink and the material being printed on.
To apply the adhesive layer, specialized equipment is used. The printer applies an even coat of adhesive onto the film using precision techniques. This ensures that every part of the design will adhere properly to the substrate during heat press transfer. Once applied, the adhesive layer requires some time to dry and set properly before being transferred onto the substrate. This step ensures optimal adhesion and prevents any potential issues during heat pressing.
Transfer to Substrate
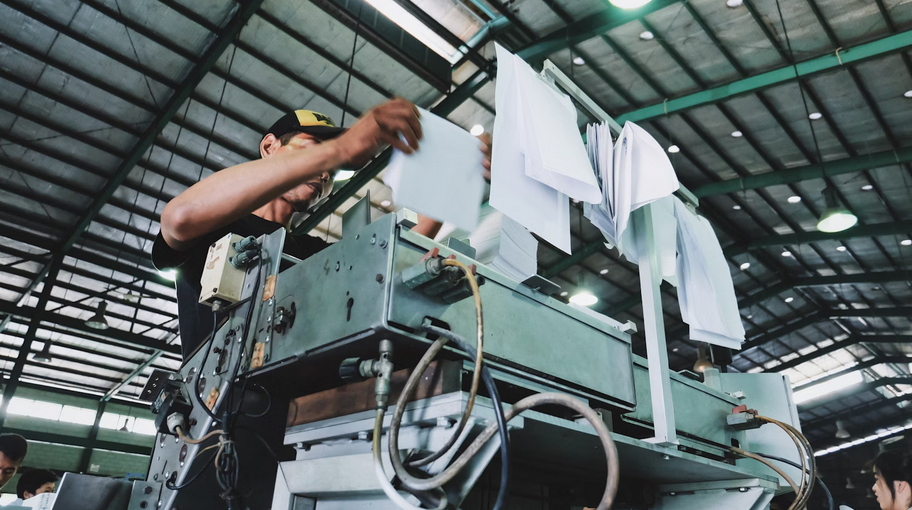
With unmatched precision and detail, DTF printing allows for seamless transfer from film to substrate. The carefully crafted design of the film is now ready to become a reality on your chosen material. The transfer process itself requires specialized equipment known as a heat press. This machine applies both heat and pressure to ensure that the ink adheres perfectly to the substrate surface.
During this stage, it’s essential to use the correct combination of temperature and pressure settings. Finding that sweet spot ensures optimal adhesion of ink particles onto your desired material – whether it be fabric, wood, metal, or any other suitable surface.
Peeling Process
Once the heat press transfer is complete, it’s time for the peeling process. This step involves carefully removing the carrier film from the transferred design on the substrate. To start peeling, gently lift one corner of the carrier film using your fingers or a weeding tool. Slowly peel back the film at a 180-degree angle, keeping it as close to the surface as possible. Take your time during this process to ensure that no part of the design lifts with the carrier film. If you notice any areas where the adhesive has not fully adhered to the substrate, simply press them down again and continue peeling.
Remember to handle delicate or intricate designs with extra care during this stage. Take pride in achieving smooth and flawless prints by mastering each aspect of DTF printing. So there you have it – an overview of DTF printing’s fascinating peeling process.